> ## Documentation Index
> Fetch the complete documentation index at: https://docs.idalia.app/llms.txt
> Use this file to discover all available pages before exploring further.
# Quickstart
> Set up your first project
 ### Create a project
1. Go to the [Projects page](https://idalia.app/dashboard/projects)
2. Select Create in the top-right
3. Enter a name, project code, customer (optional), and planned dates
4. Press Create to save
The project is created instantly. Click on it to view its dashboard.
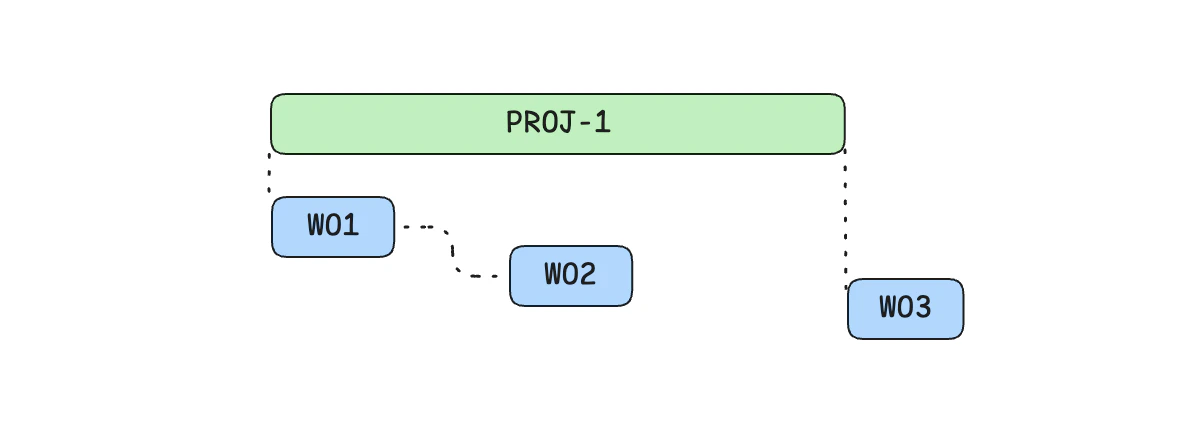
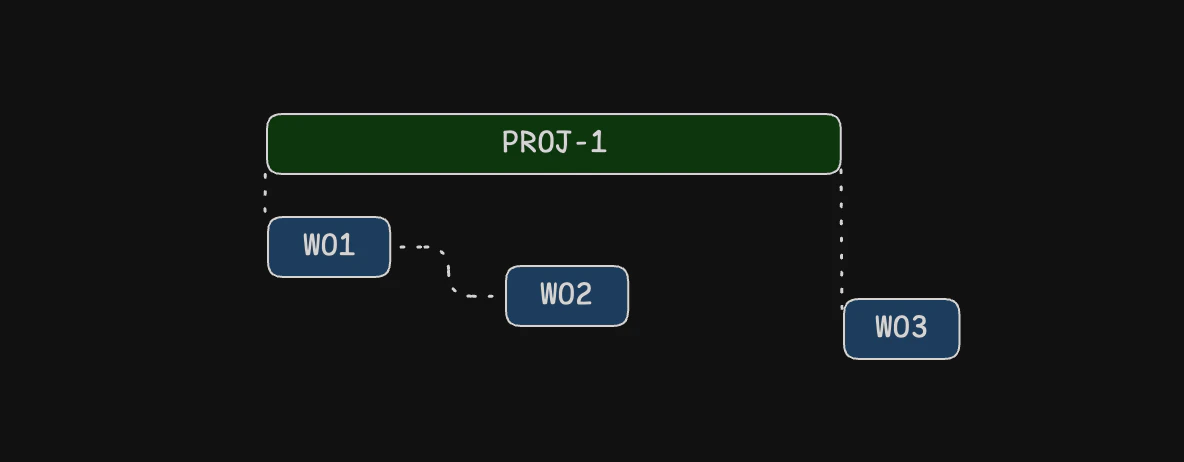
The project dashboard is a home screen for everything related to the project. The project's status, dates, and all associated work orders, tasks, asset allocations, and transport operations are displayed here.
### Add work orders
There's a blue Menu button in the top right corner of the project dashboard. Click it to show an action menu.
### Next steps
Continue to [project concepts](/projects/concepts) to learn more from a high-level, or head to [reference](/projects/reference) for more detailed information.
For advanced project management, head to [dependent dates](/advanced/dates) to learn how to create complex timelines that keep in sync automatically.
### Create a project
1. Go to the [Projects page](https://idalia.app/dashboard/projects)
2. Select Create in the top-right
3. Enter a name, project code, customer (optional), and planned dates
4. Press Create to save
The project is created instantly. Click on it to view its dashboard.
The project dashboard is a home screen for everything related to the project. The project's status, dates, and all associated work orders, tasks, asset allocations, and transport operations are displayed here.
### Add work orders
There's a blue Menu button in the top right corner of the project dashboard. Click it to show an action menu.
### Next steps
Continue to [project concepts](/projects/concepts) to learn more from a high-level, or head to [reference](/projects/reference) for more detailed information.
For advanced project management, head to [dependent dates](/advanced/dates) to learn how to create complex timelines that keep in sync automatically.